Generation Workflow
We have introduced workflows to guide users through various use cases. The Generation Workflow offers step-by-step directions through the process of generating multi-model data from a single model input. It encompasses the complete process, including the inference of a schema from raw data, editing the inferred schema category, creating mappings, and generating the multi-model data itself. The following video and written tutorial will guide you through the process:
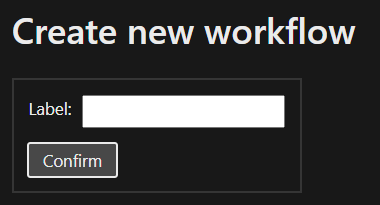
The Home page of the MM-cat client presents the user with multiple options. To start the workflow process, fill in the workflow label and press “Confirm”.
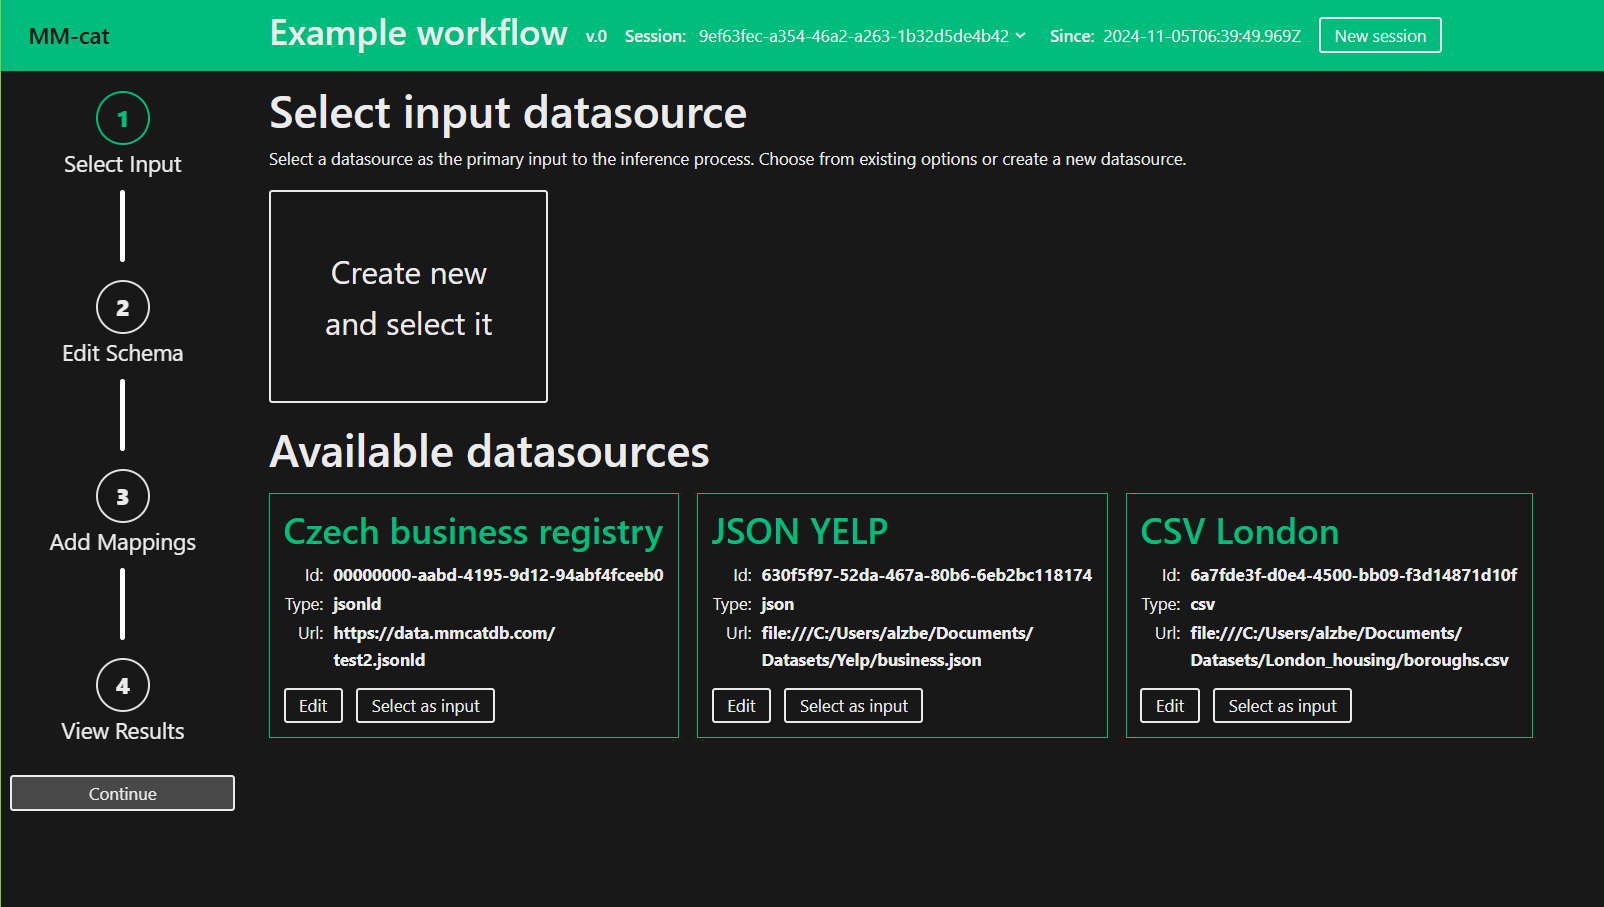
Select or create a new Datasource. When creating new, fill in the required information. Press “Continue”.
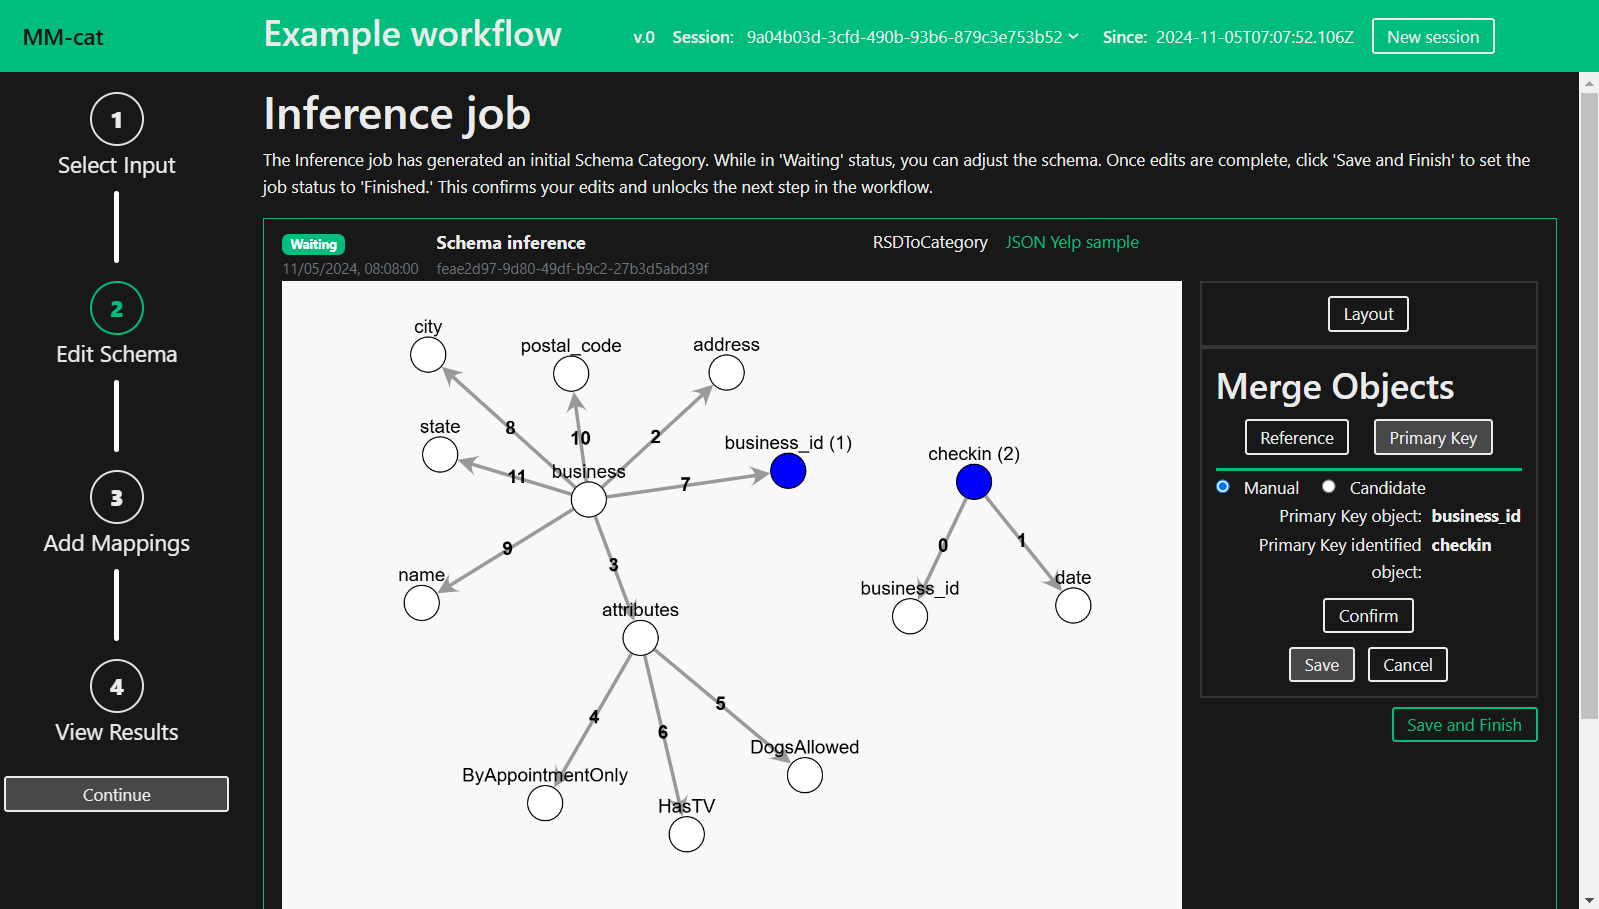
The Inference Job has run. If succesful, the state badge will change to “Waiting”. Edit the inferred Schema Category to your liking.
Define the edit and see a live preview of it by pressing “Confirm”. To keep the change press “Save”, otherwise press “Cancel”. All of the saved edits stay available in the Inference Editor, you can choose to undo or redo them any time. Once you are done with editing, press “Save and Finish” followed by “Continue”. See below for full description of Inference Editor.
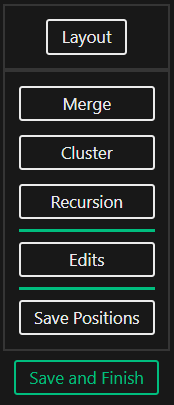
The Inference Editor provides multiple editing options, affecting both the structure (Merge, Cluster, Recursion) and the layout (Layout, Save Positions) of the inferred Schema Category. Click through the context menu to discover more.
Choose from the available layouts the one that best fits your schema. Change your choice even while schema structure editing.
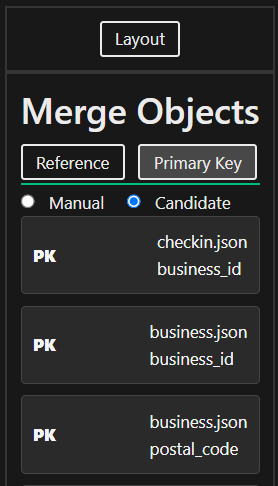
This structure editing operation allows you to define relationships in the schema by identifying objects as references. References help establish connections between different entities within the schema. You can choose between a Manual or a Candidate approach. For the manual approach: click on objects in the schema to manually define the reference. For the Candidate approach: select from a list of suggested references provided by the system. See an example of suggested candidates in the figure below.
The primary key merge operation builds on the functionality of references. In addition to defining a relationship between objects, marking an object as a Primary Key designates it as the unique identifier for that entity. As with references, you can define primary keys manually by clicking on objects or choose from a list of candidates suggested by the system. See the manual choice process in the picture in Step 2.
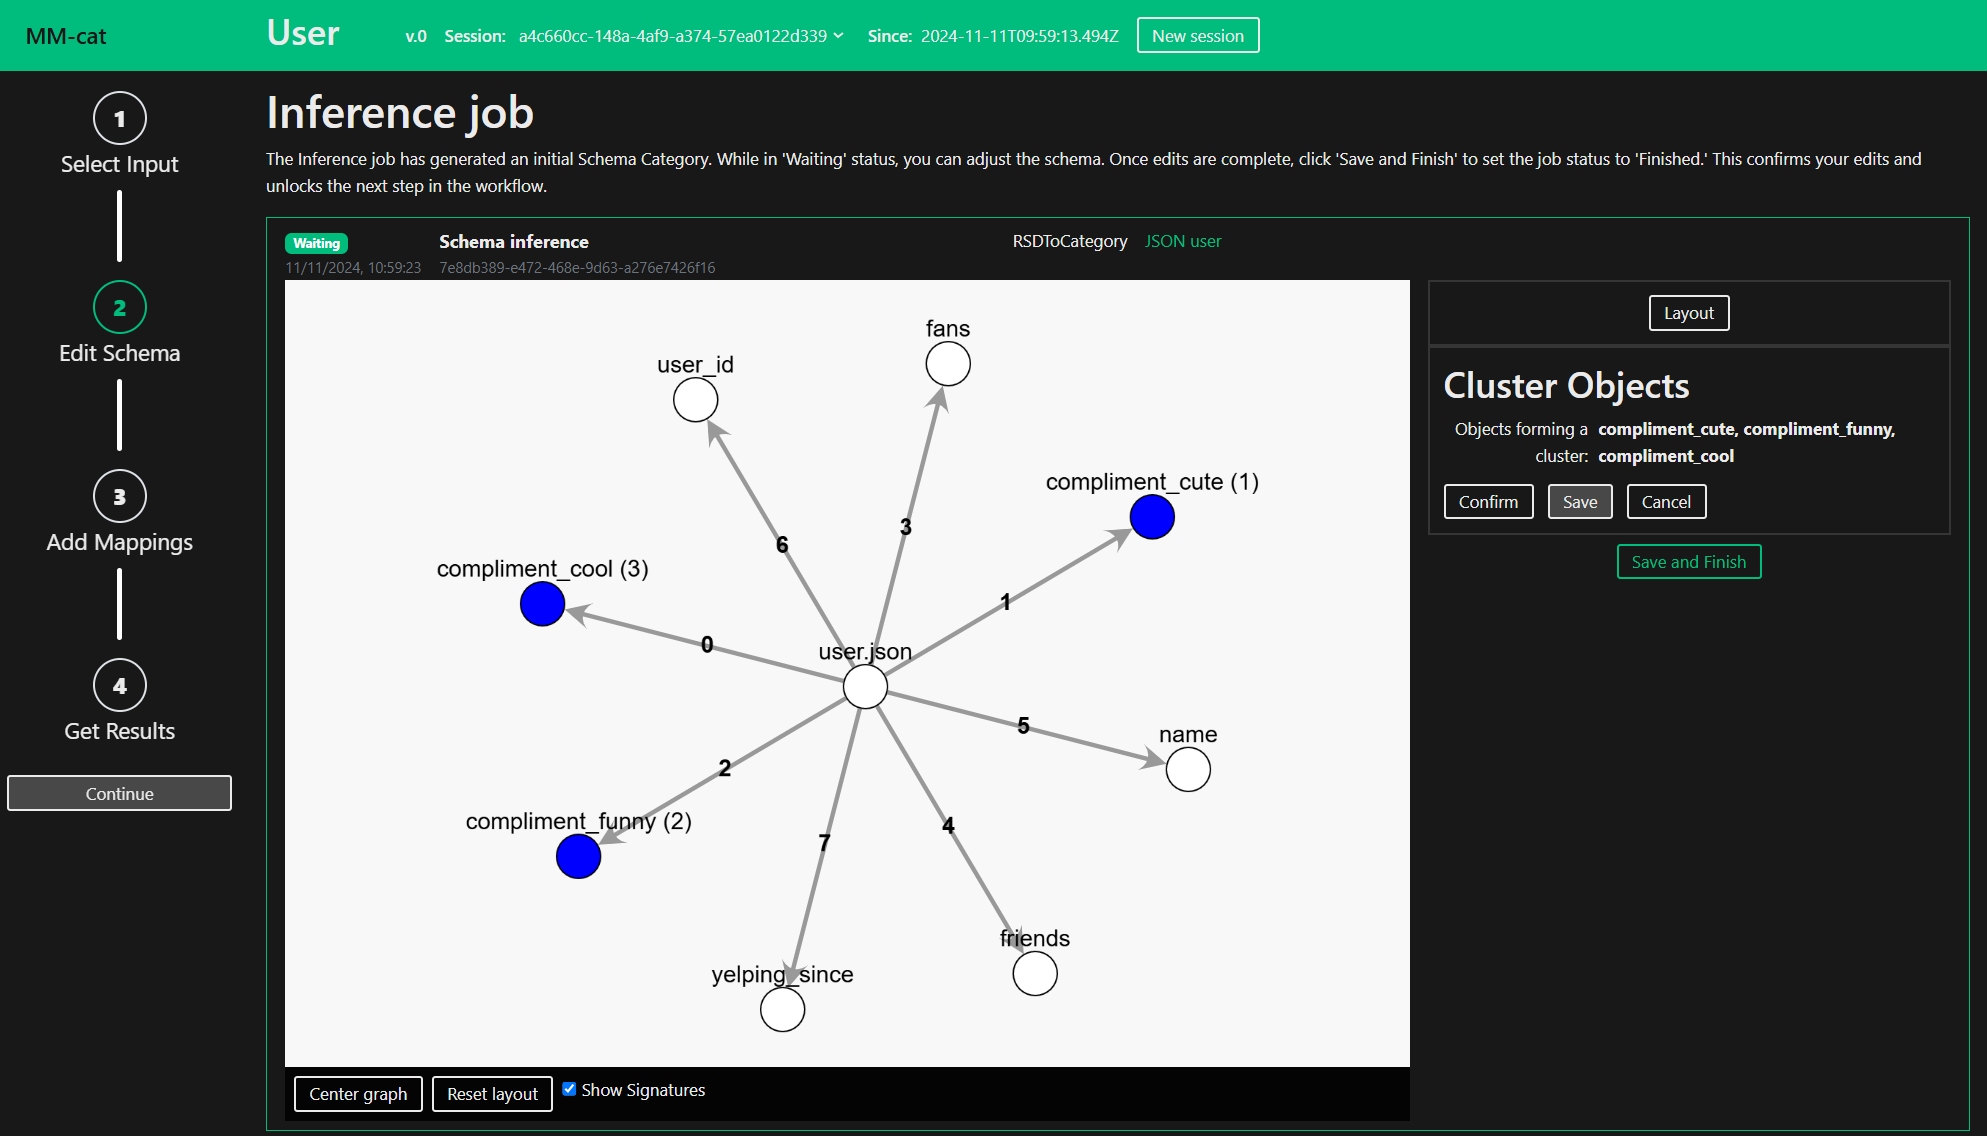
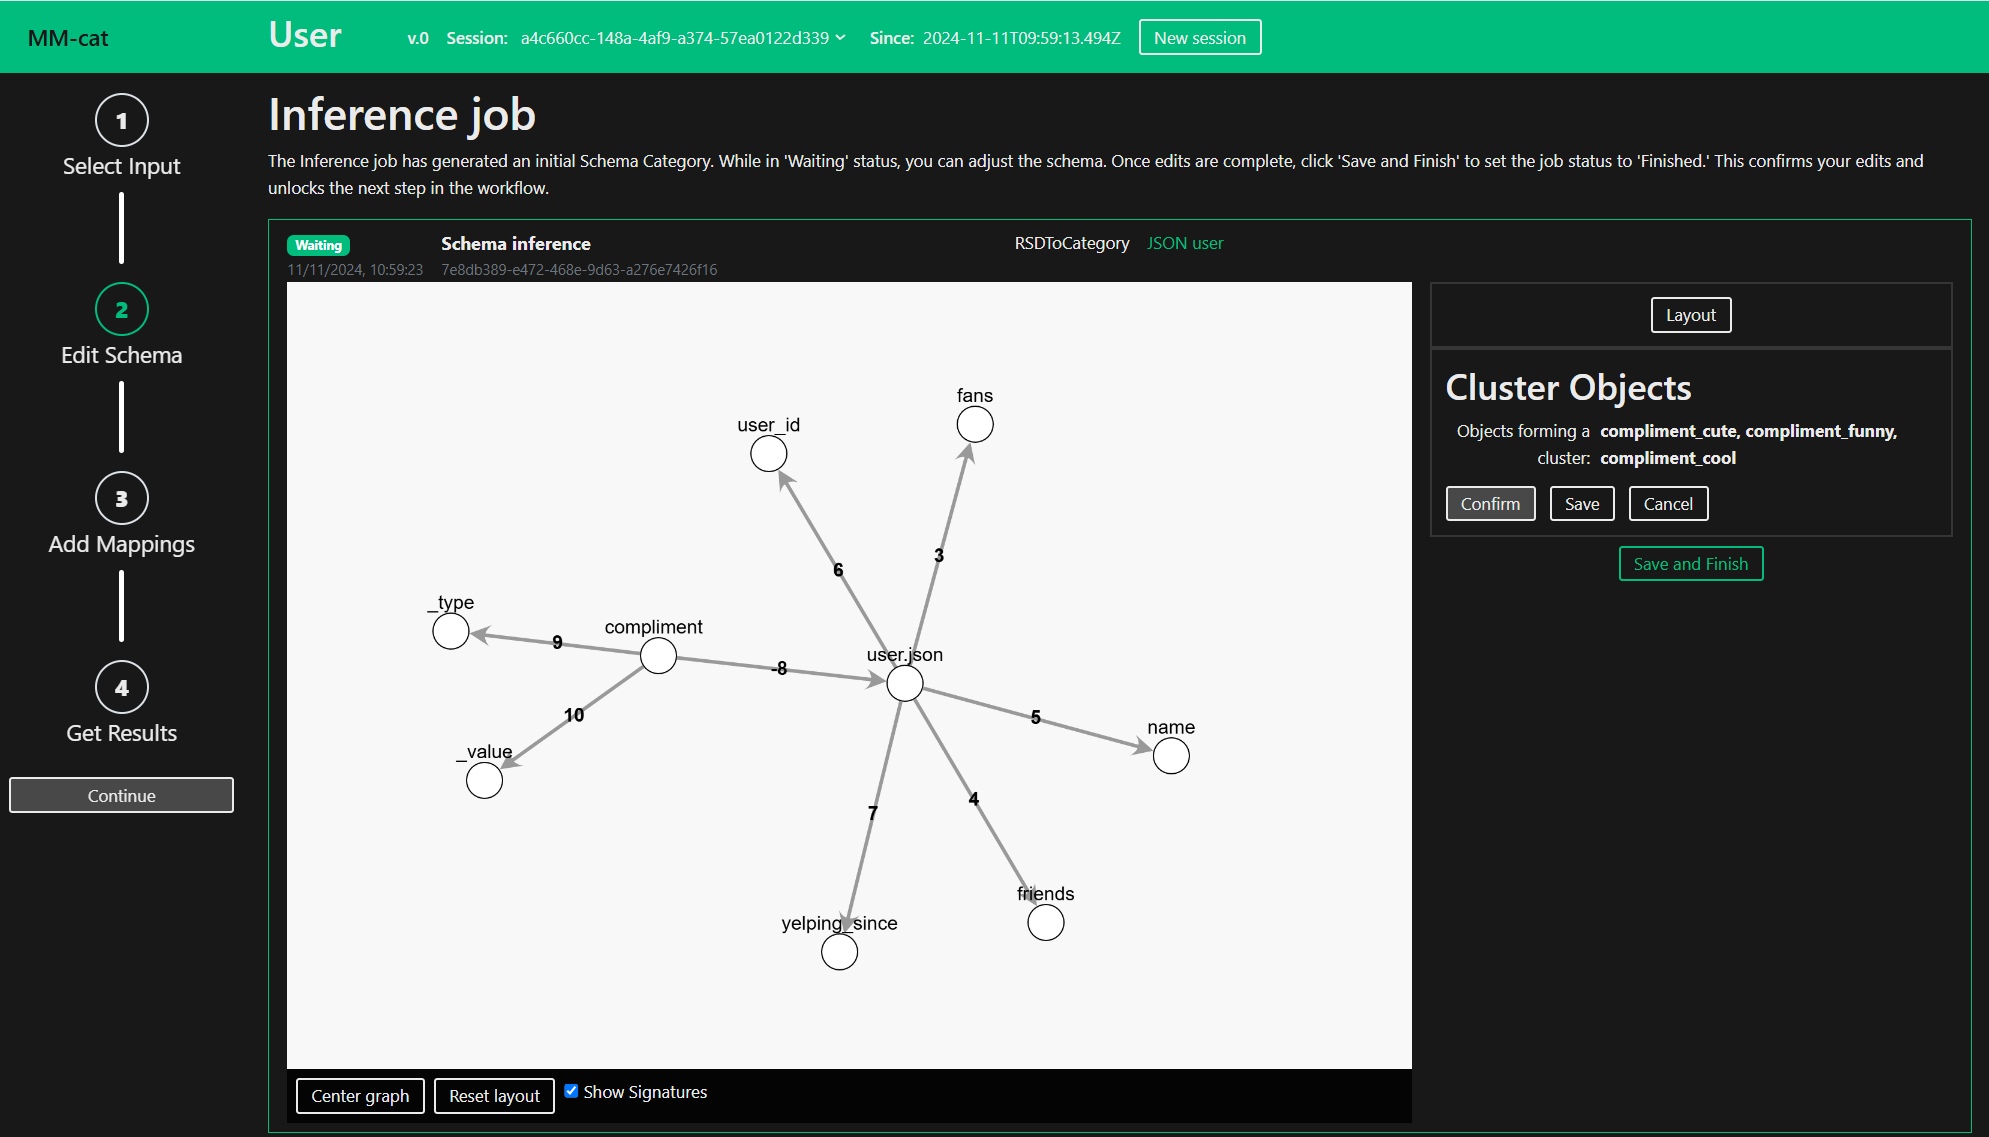
The Cluster structure editing operation simplifies the schema by creating a cluster representant for multiple cluster members. A schema contains a cluster if there are multiple objects which have the same structure and name, or their names share a common cluster identifier. Identify these objects by clicking on them.
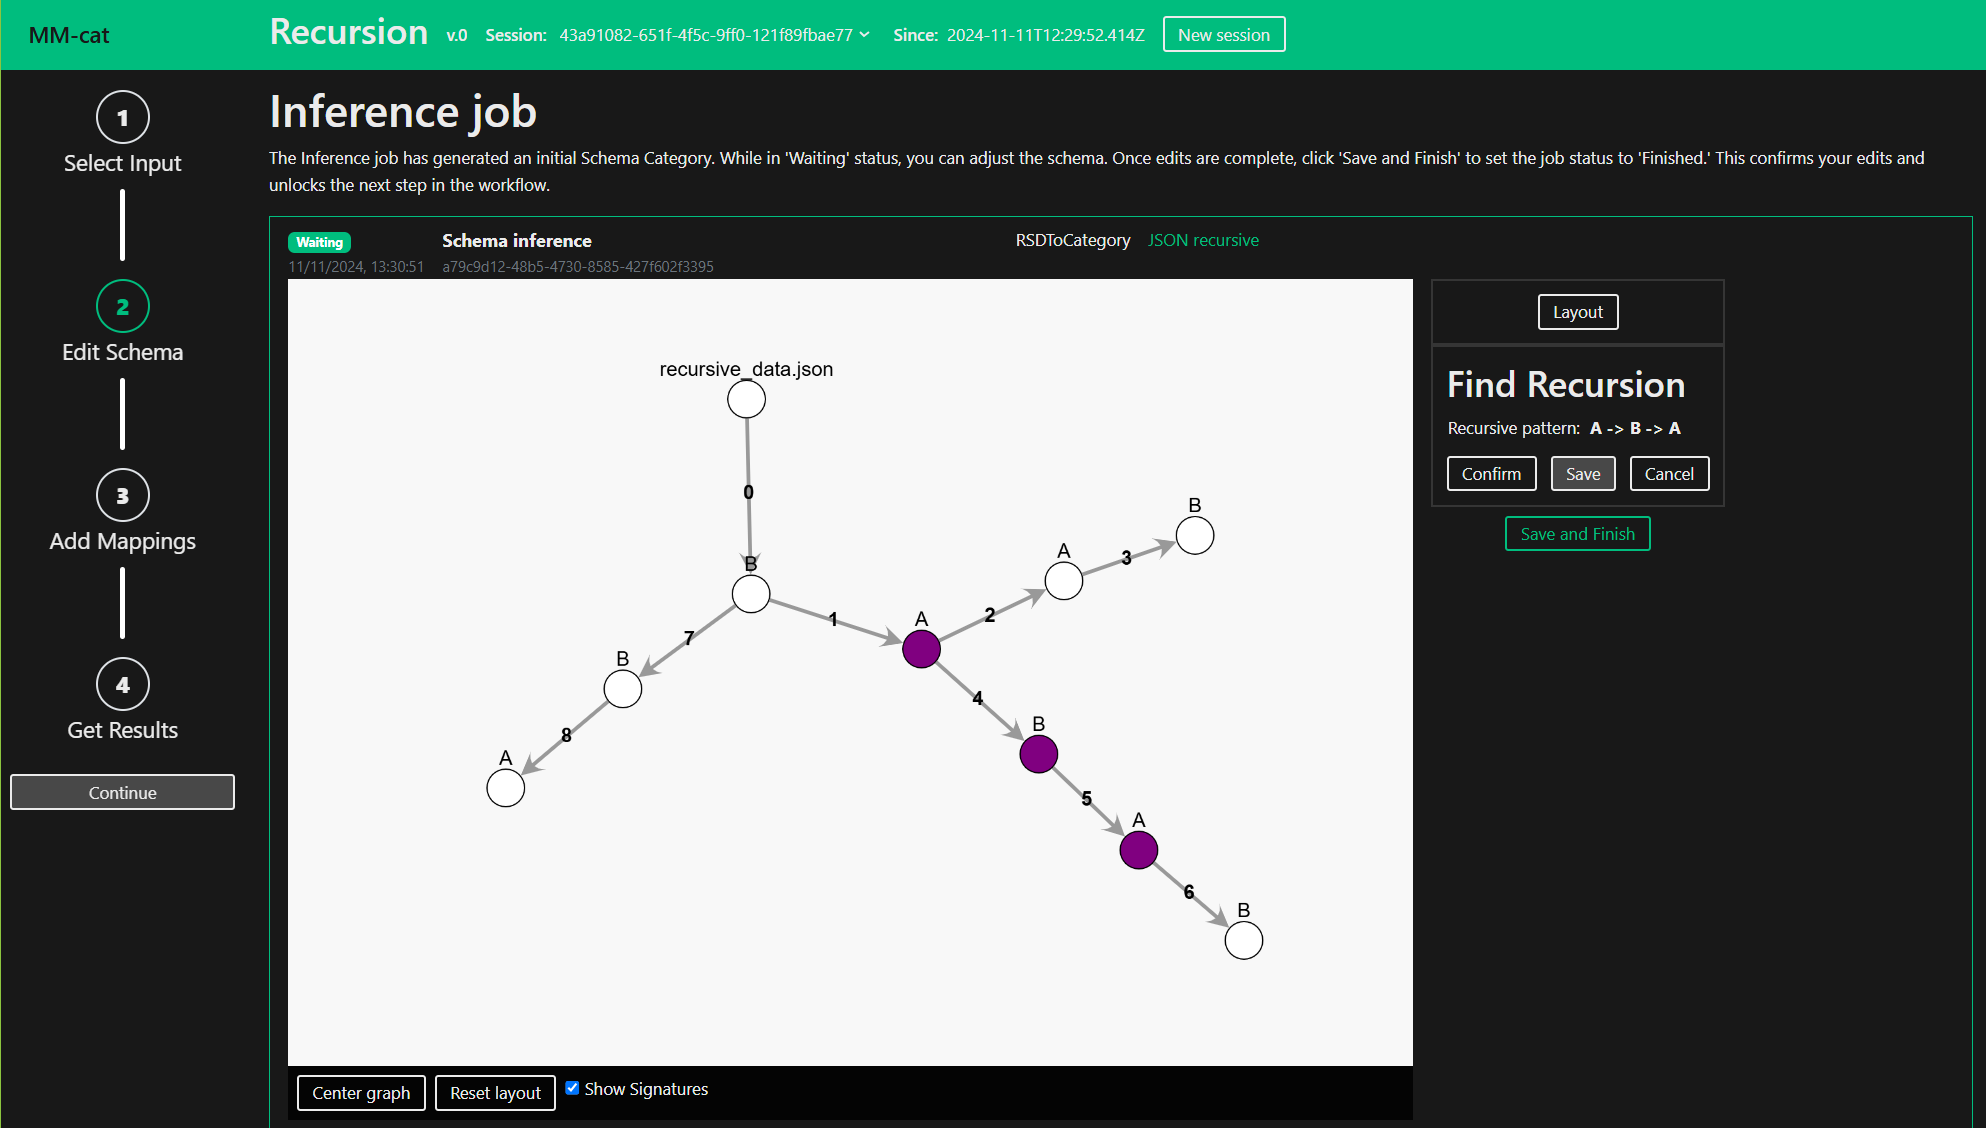
Recursive schemas can be simplified by the Recursion structure editing operation. Define the recursive pattern in your schema by clicking objects and morphisms.
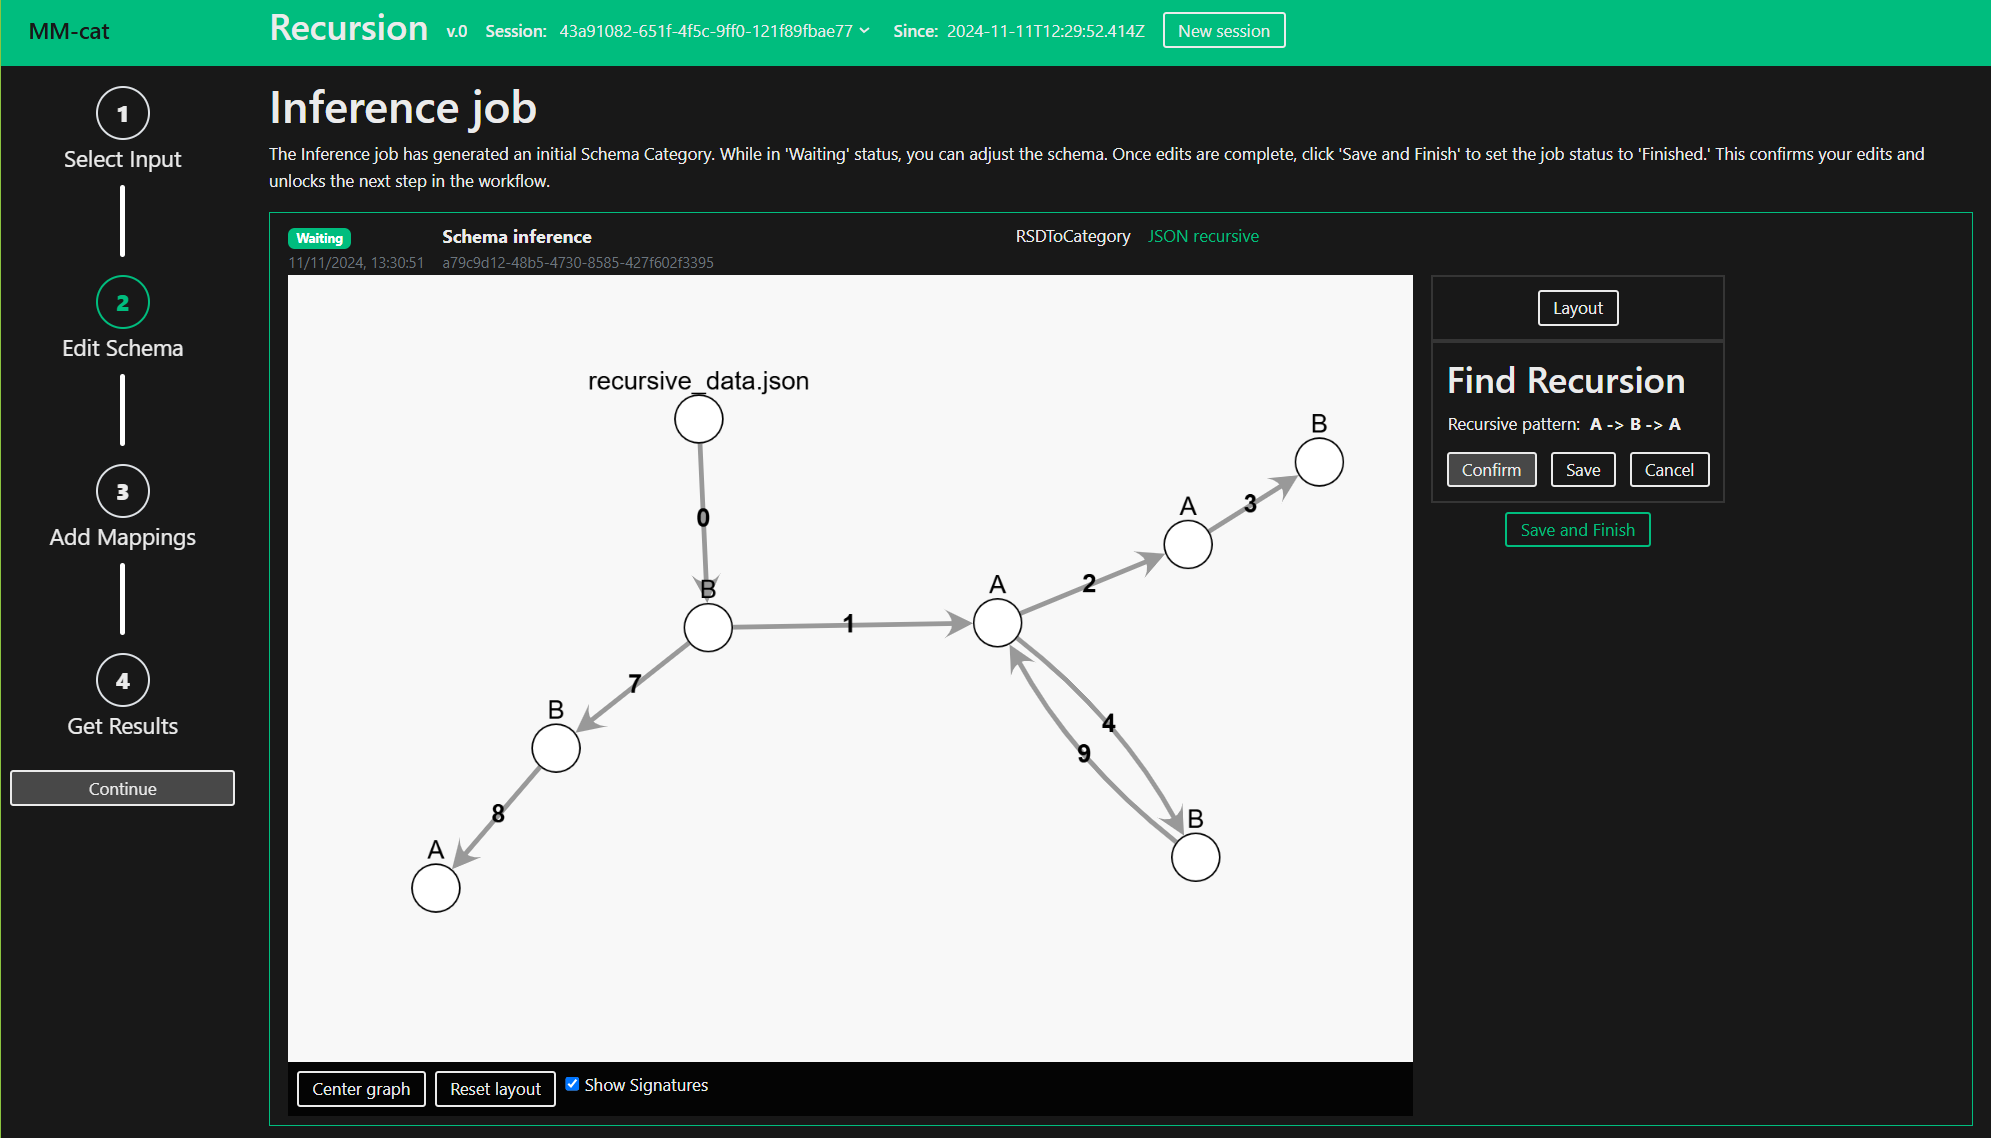
View the saved edits and undo or redo them as you like.
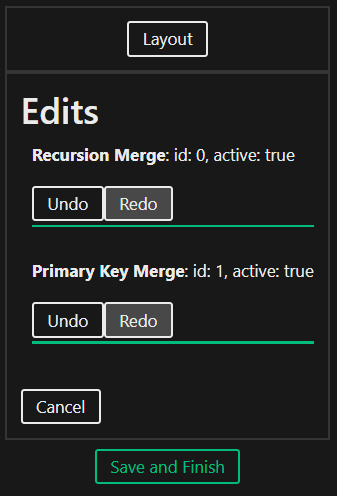
If you wish to manually adjust the schema layout, do so by dragging the graph nodes around. Once you are done, save the new positions by clicking this button.
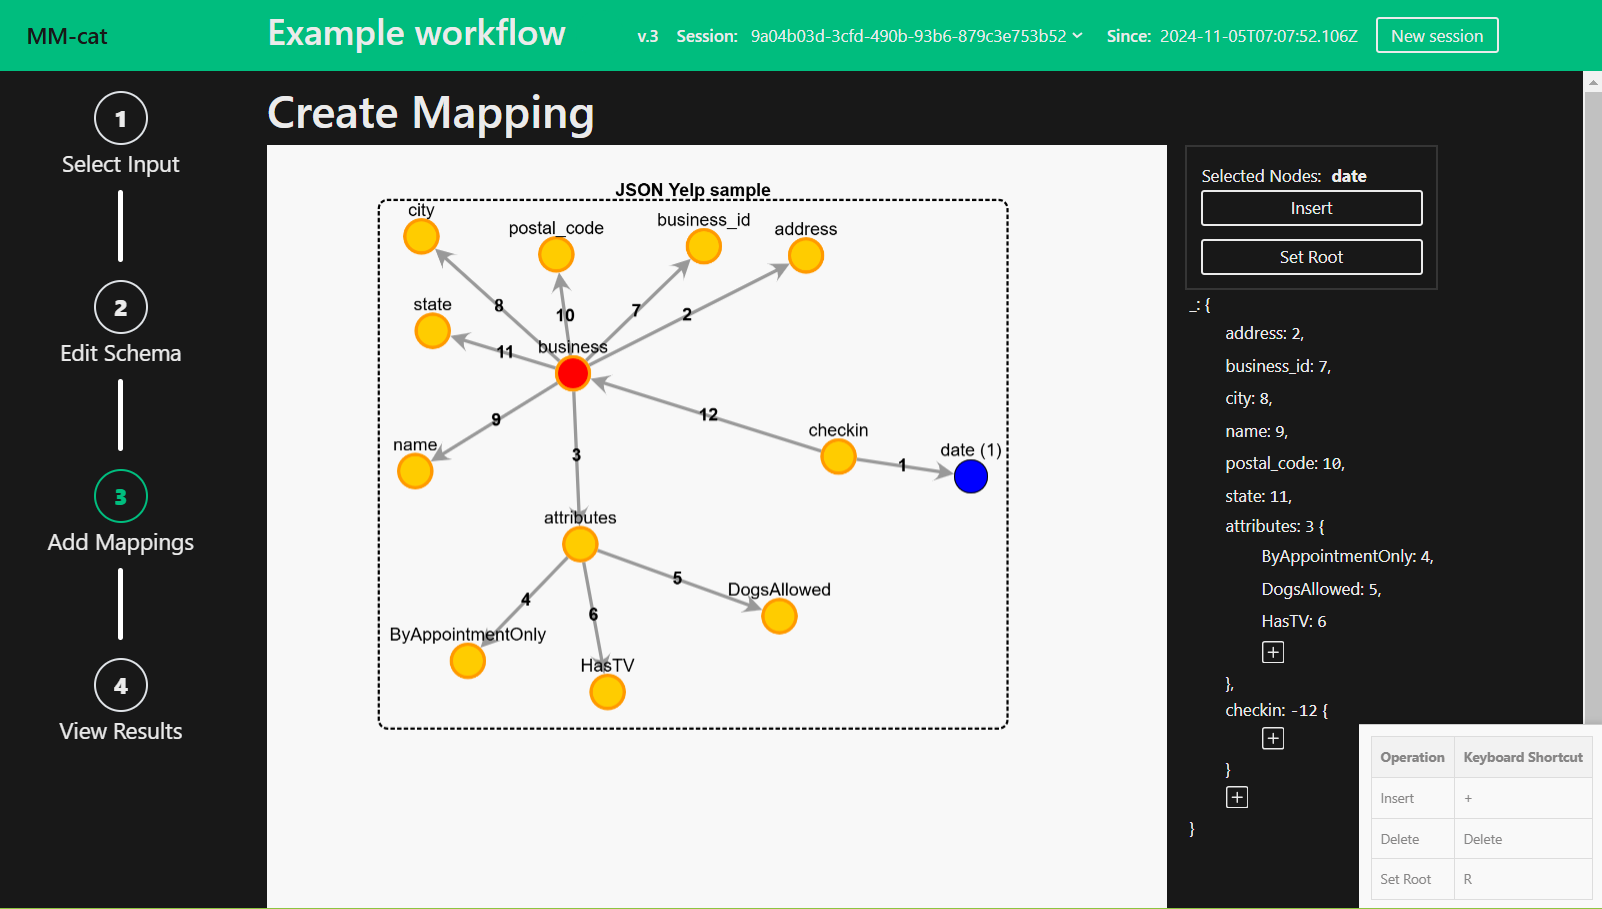
Define at least one output Mapping. First, select the output Datasource. Then define the Mappings. You can either load an initial Mapping or create a new one from scratch. Both options enable you to edit the Mapping as you go in the Mapping Editor using the context menu, the keyboard shortcuts or the AccessPath. Press “Finish Mapping” when you are done defining your output Mappings. To see the results press “Continue”. See below for full description of Mapping Editor.
Start by selecting the means of initializing new Mapping.
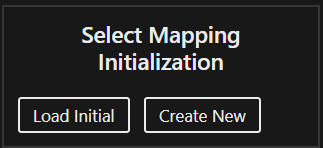
The Load Initial option prompts you to select Datasource and Kind whose Mapping you can edit.
When Create new selected, you are asked to first choose node representing the root of the Mapping and then nodes representing the attributes of the root. Feel free to choose as many or as little attributes as you like. However, be aware that a node which does not have a direct morphism with any of the nodes already selected will not be added to the Mapping.
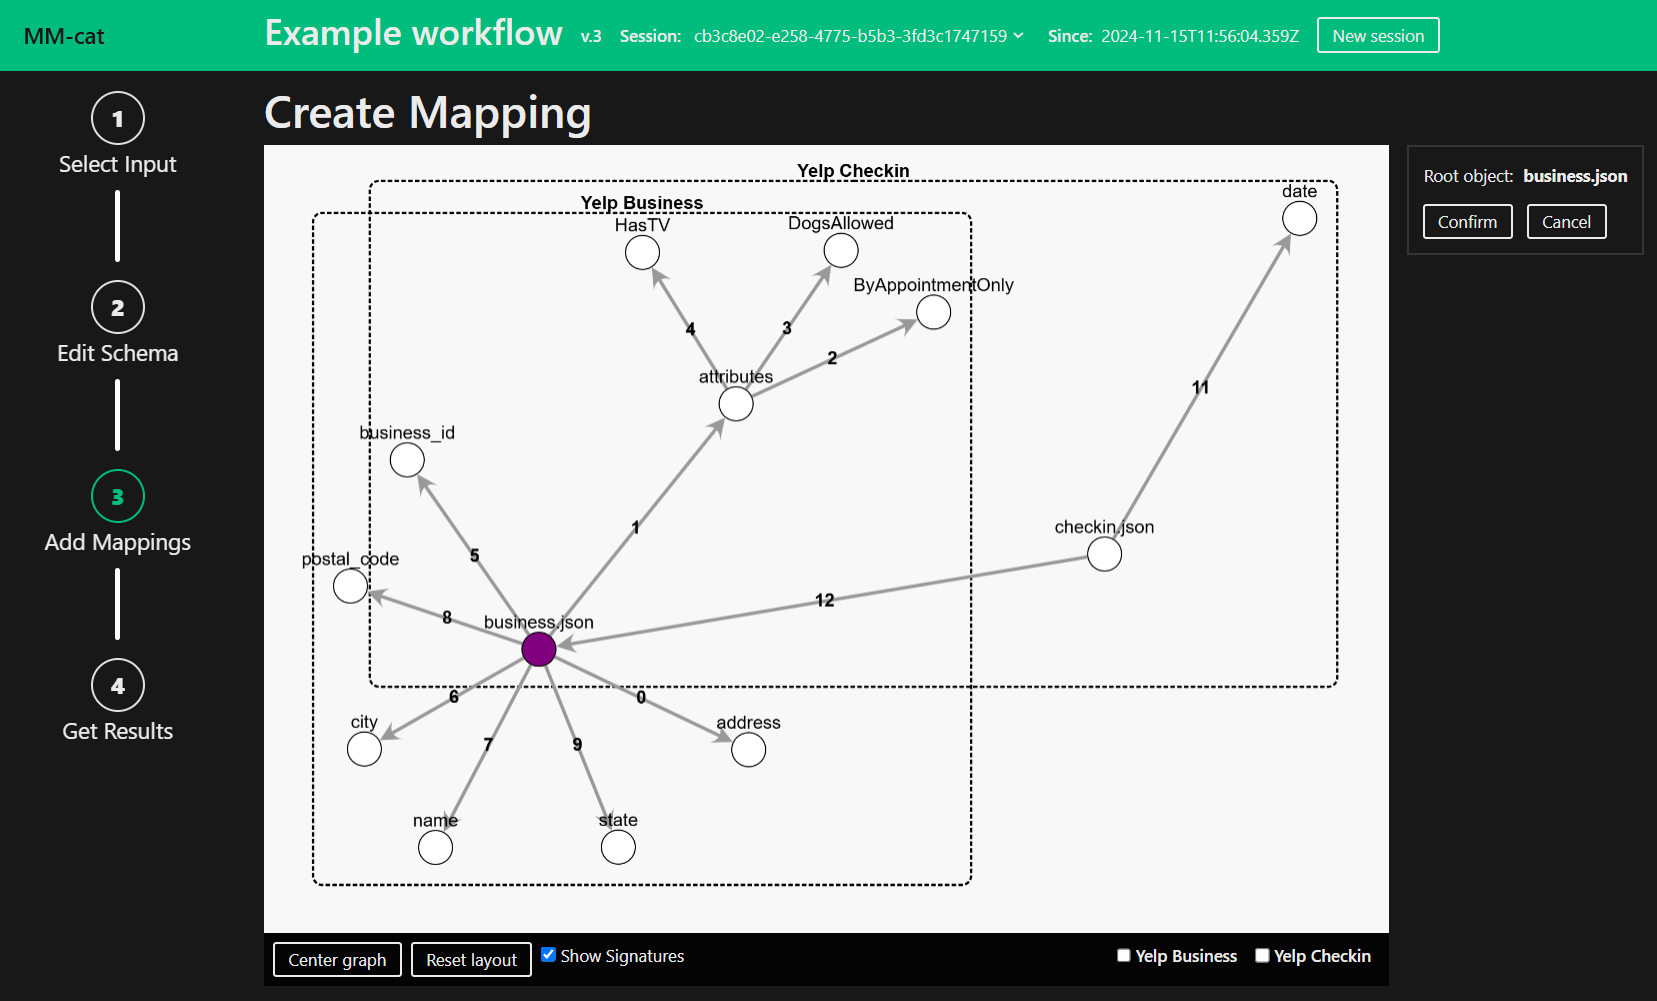
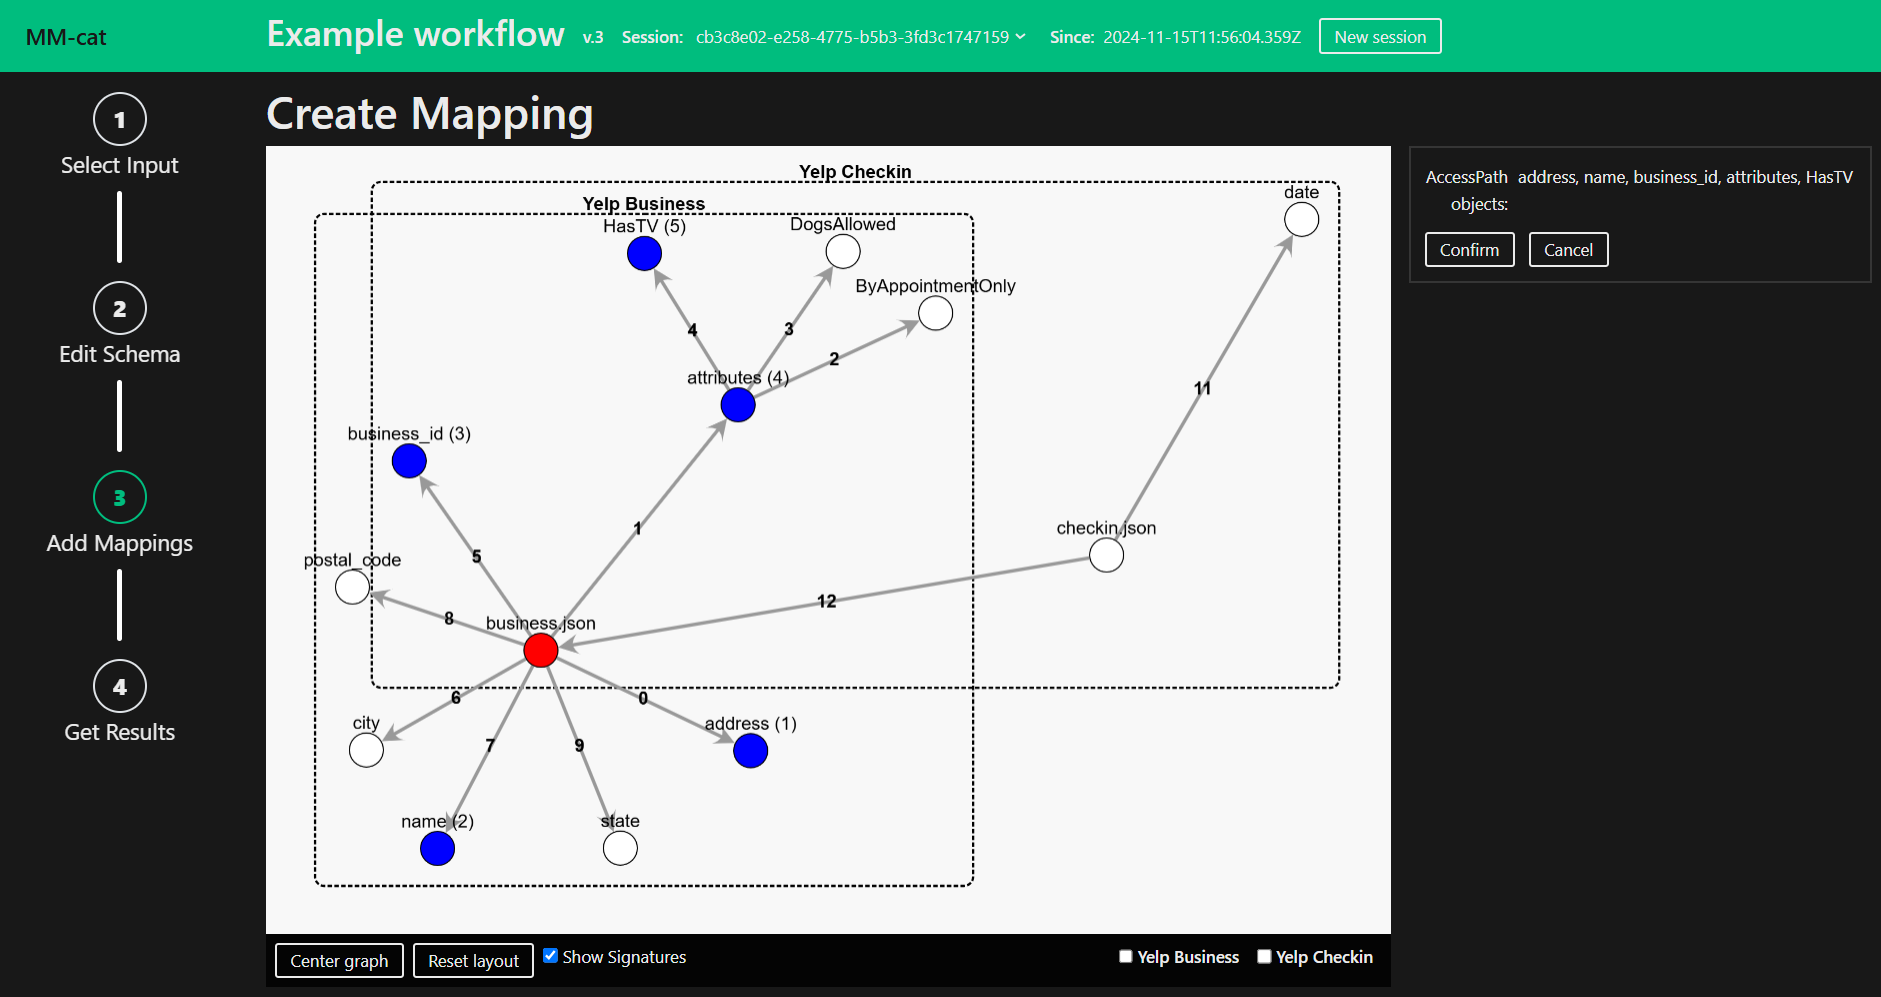
After selecting the means of creating first draft of the output Mapping you enter the edit mode. Edit the Mapping to your liking. Delete, Insert or Edit nodes. You can also reset the root node.
To use the context menu or keyboard shortcuts, first select a single node, two nodes or multiple and apply any of the operations provided.
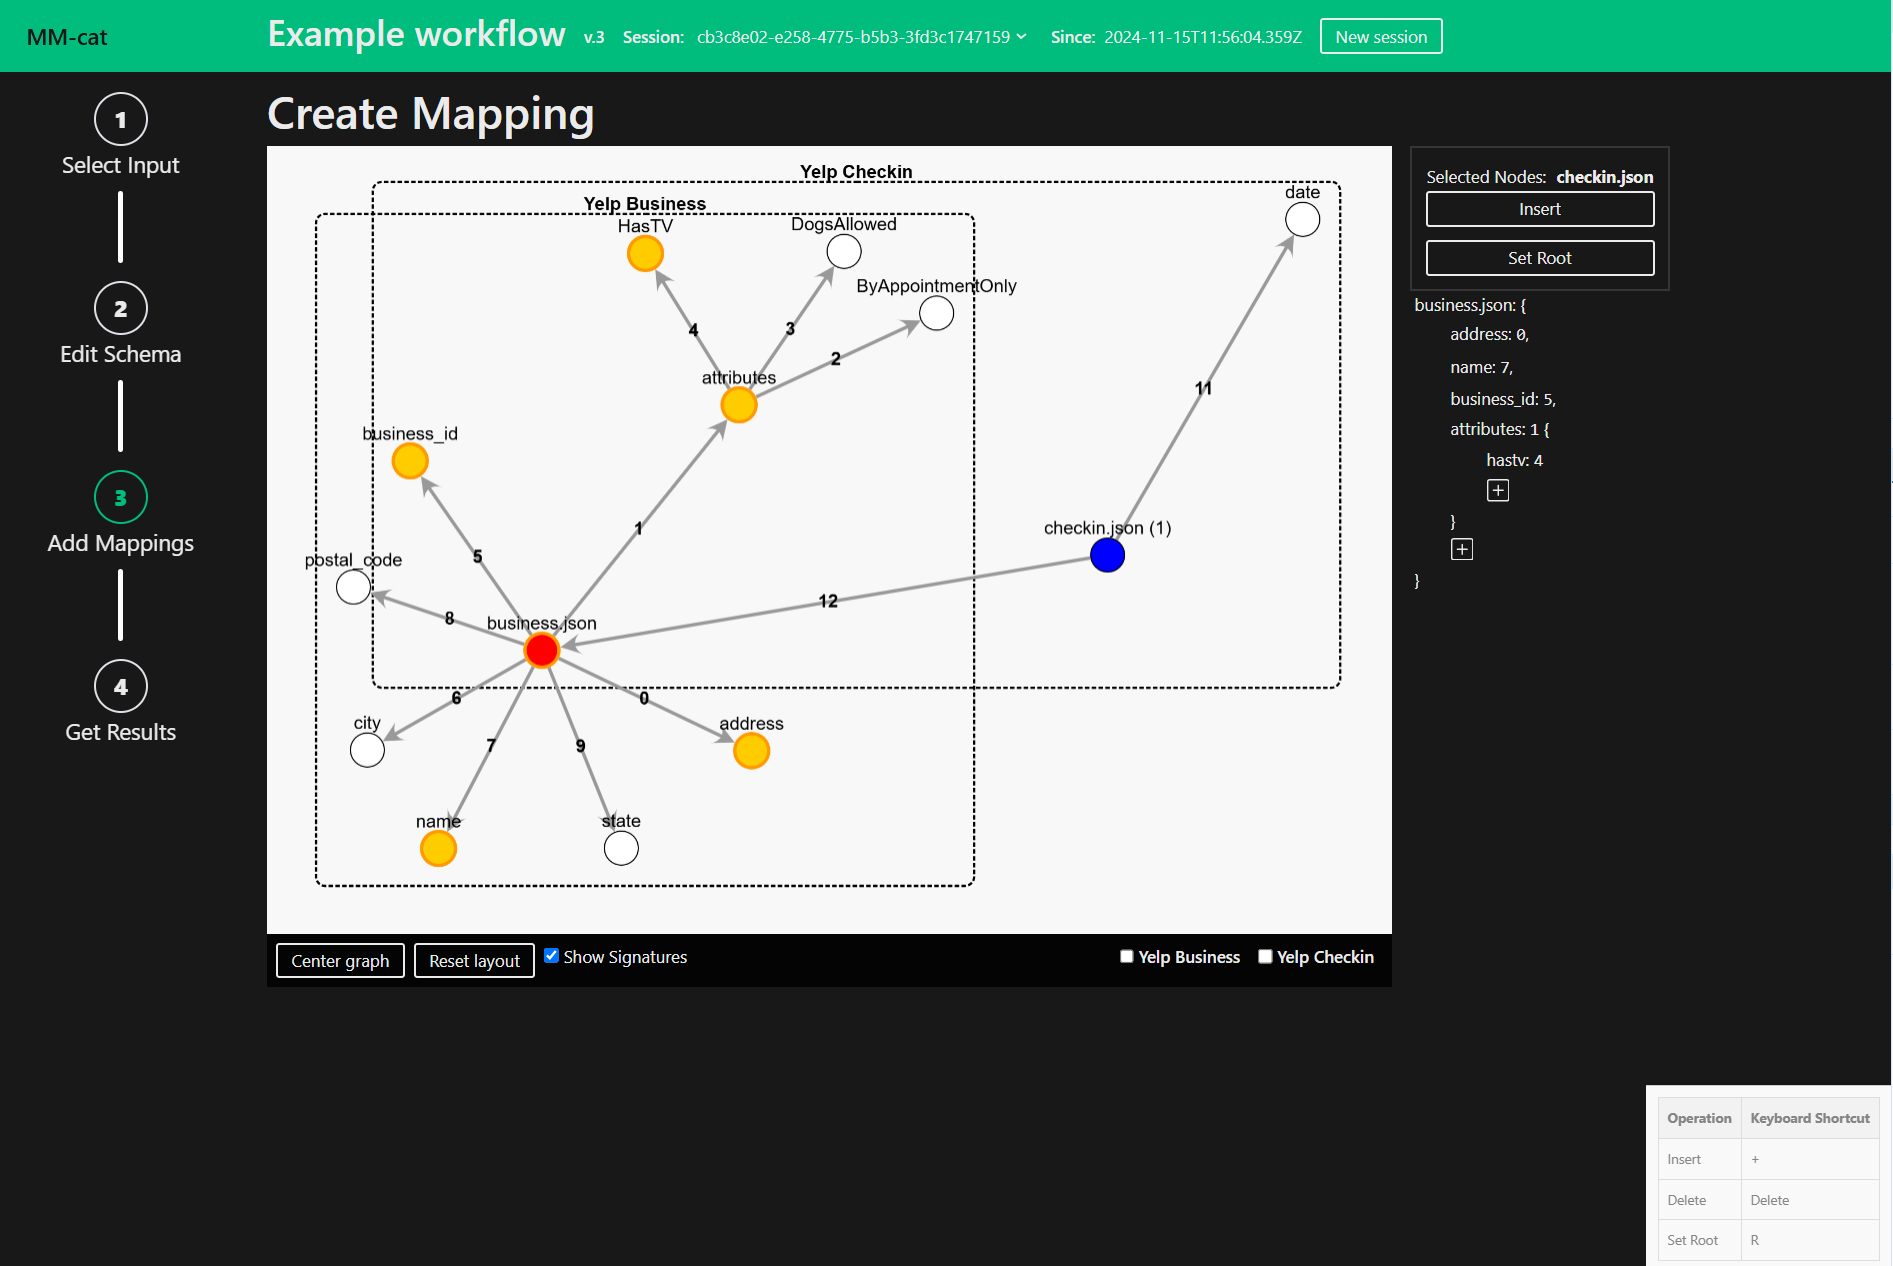
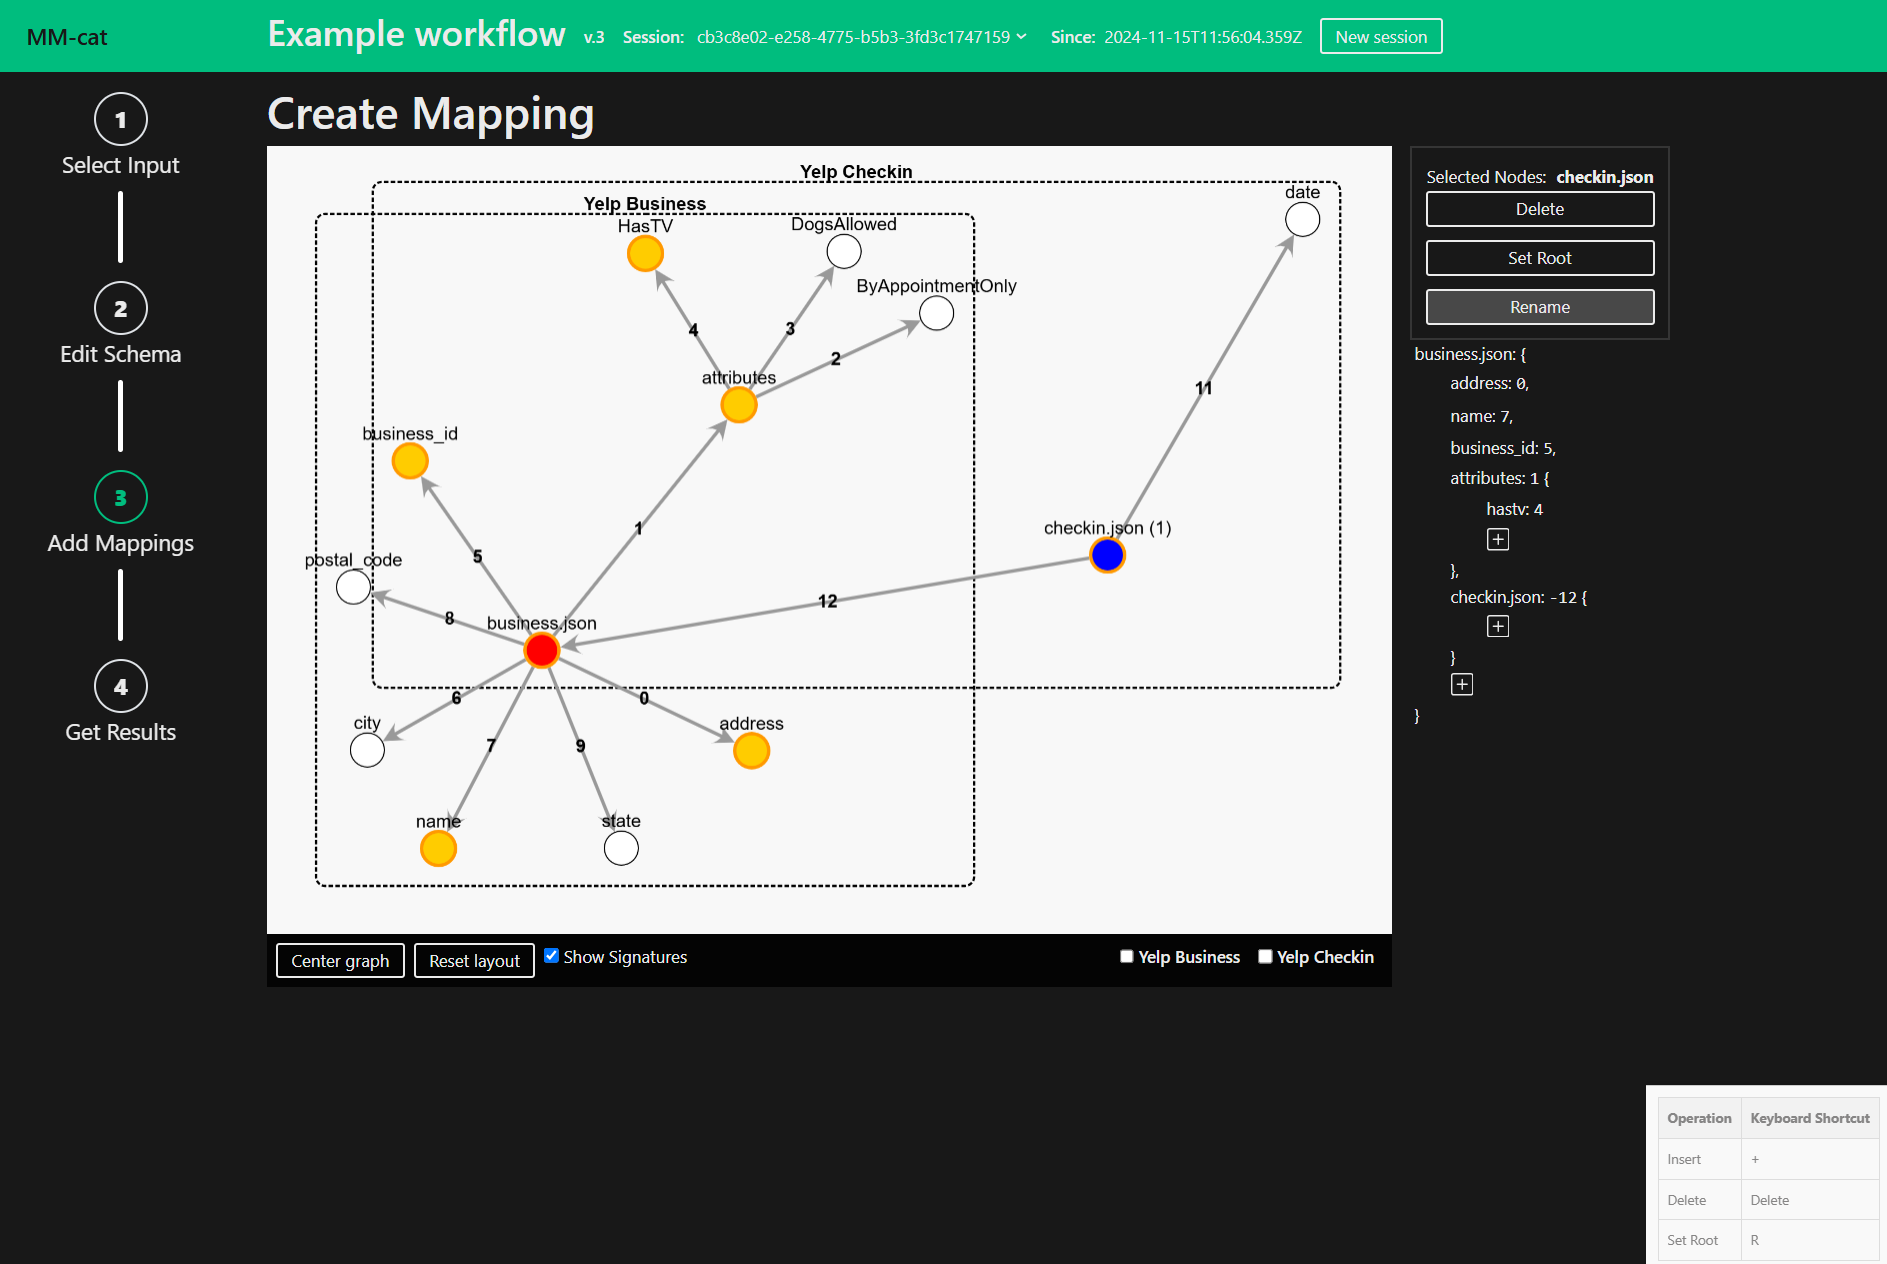
To use the AccessPath you can either click on a property name in the AccessPath and edit it…
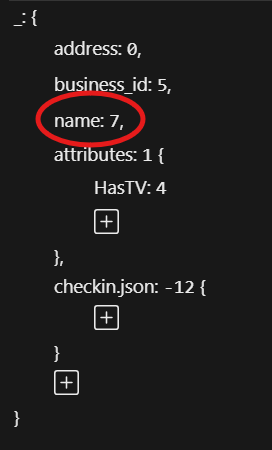
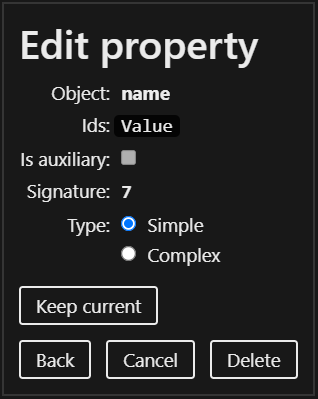
…or you can add a new property to the AccessPath with the plus button.
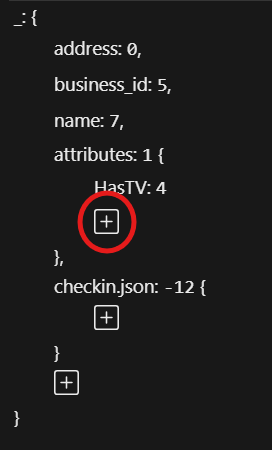
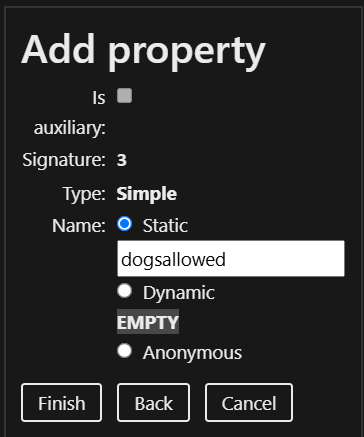
Note: Please note, that the Mapping Editor is still a work in progress. Therefore, some of the buttons are currently disabled.
The transformations has run and the results appear. Depending on the type of the output Datasource, you will see either Data Manipulation Language (DML) commands or generated files. DML command execution will take place based on your user configuration.
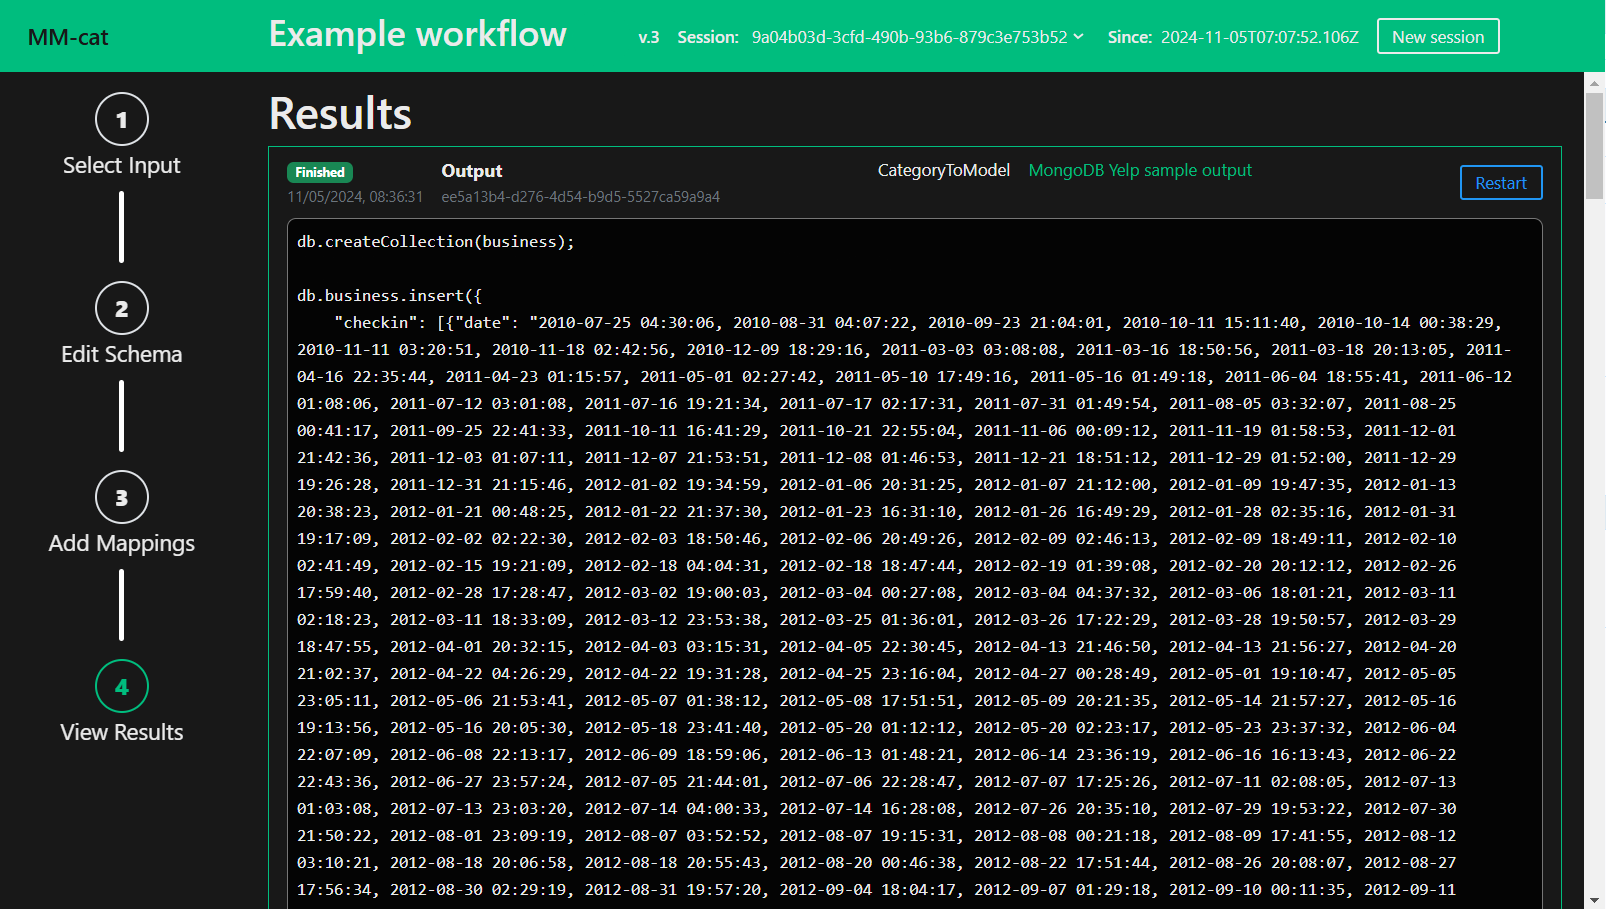
Enjoy your generated multi-model dataset!